


If you are a software developer or just starting out your coding journey, you will certainly come across the term version control. Version control in simple terms is tracking and managing changes to files over a period of time. This helps in recalling a specific change in your file whenever a need arises. Version Control can save you tons of time and potential panic incase you accidently delete a file.
Now that we know what version control is, let me tell you that Git is once such popular open source version control system which works on your local machines. GitHub is a cloud based open source system which hosts git repositories. But, it is not limited to just version control. With GitHub, you can collaborate with people across the globe to work on projects, host websites, build CI/CD pipelines, and much more.
Check out this video if your are still unsure about what GitHub is.
With that said let's make our first repository.
1. Get your GitHub account
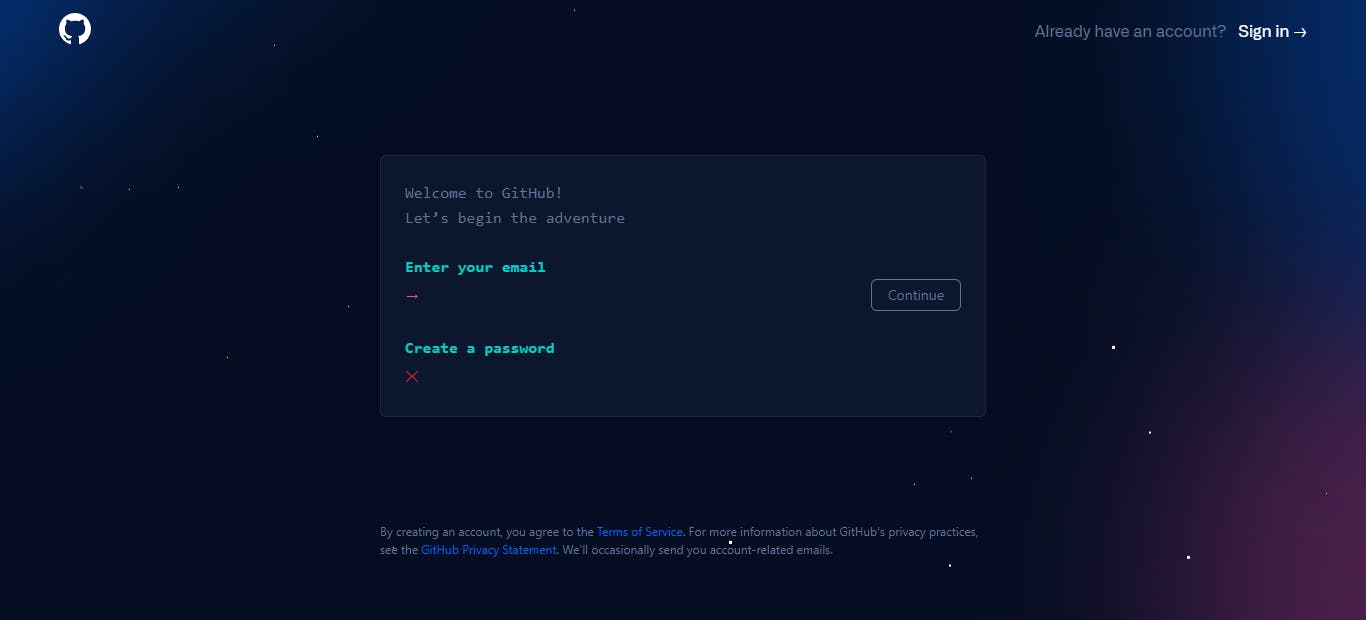
Visit https://github.com/ and sign up for your free account.
2. Creating a repository
What is a repository?
A repository contains all of the project's files along with each file's revision history. This repository can be shared across multiple people or an organization for collaboration.
When you sign in to your account, find a button "Create repository". The following page would open.
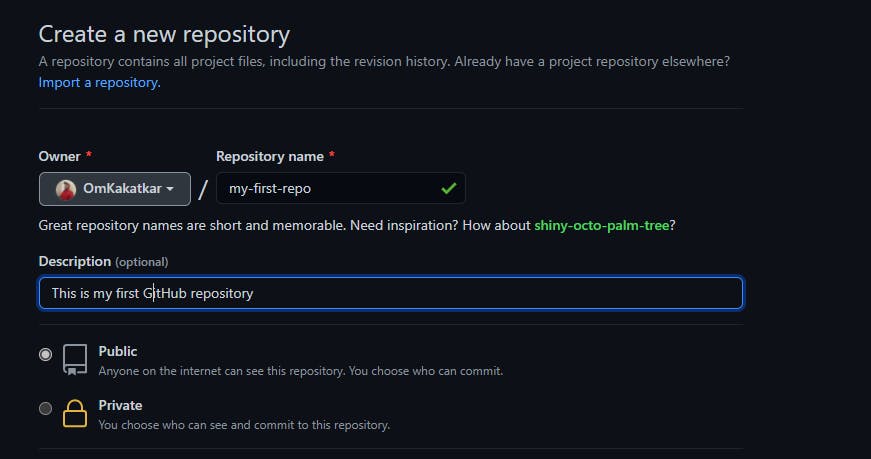
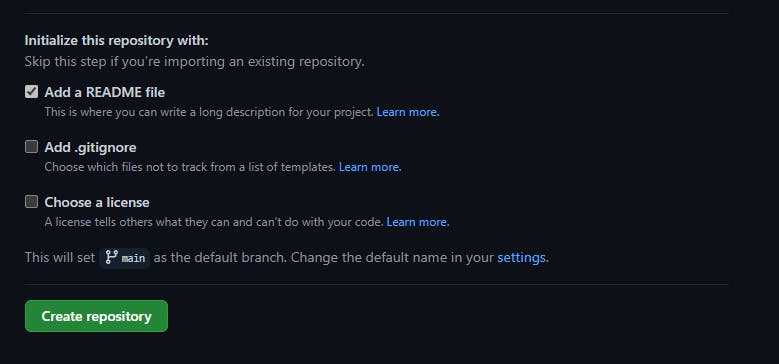
Enter all details and click on the create repository button.

Congrats you have created your very first repository on GitHub.
3. Add files to repository
Now, if you open the repository, you can see this page.
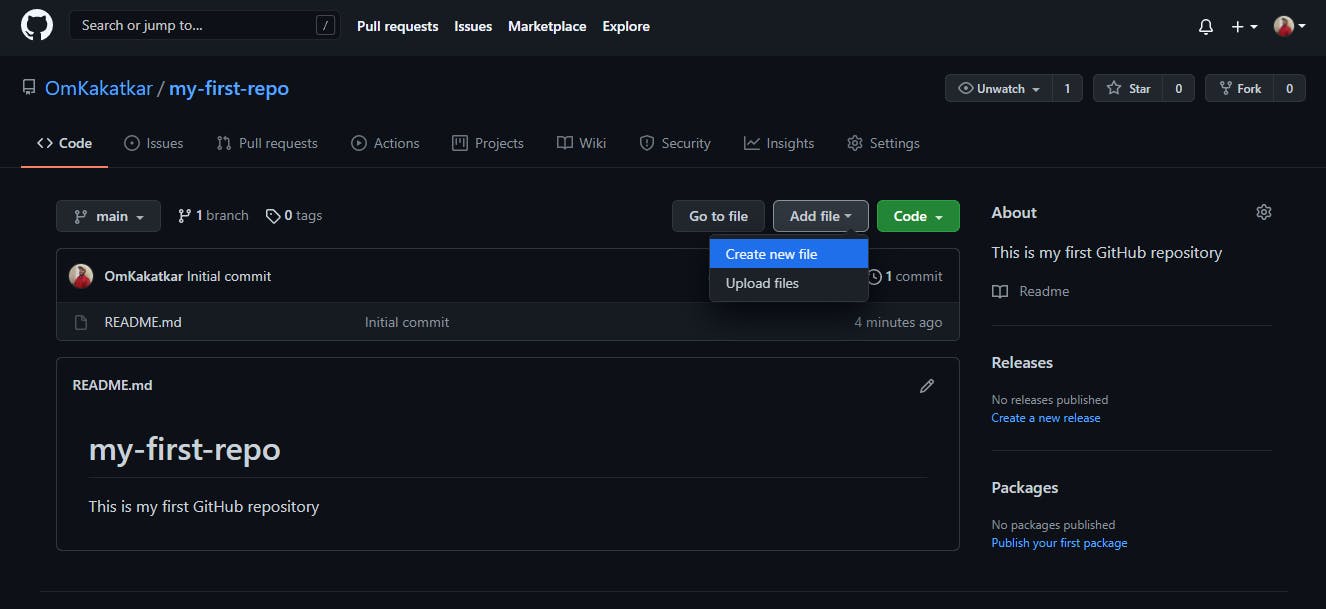
To add a file to your newly created repository, click on the "Add file" button and click on "Create new file". Alternatively you can click on the "Upload files" and add the files on your local machine to GitHub.
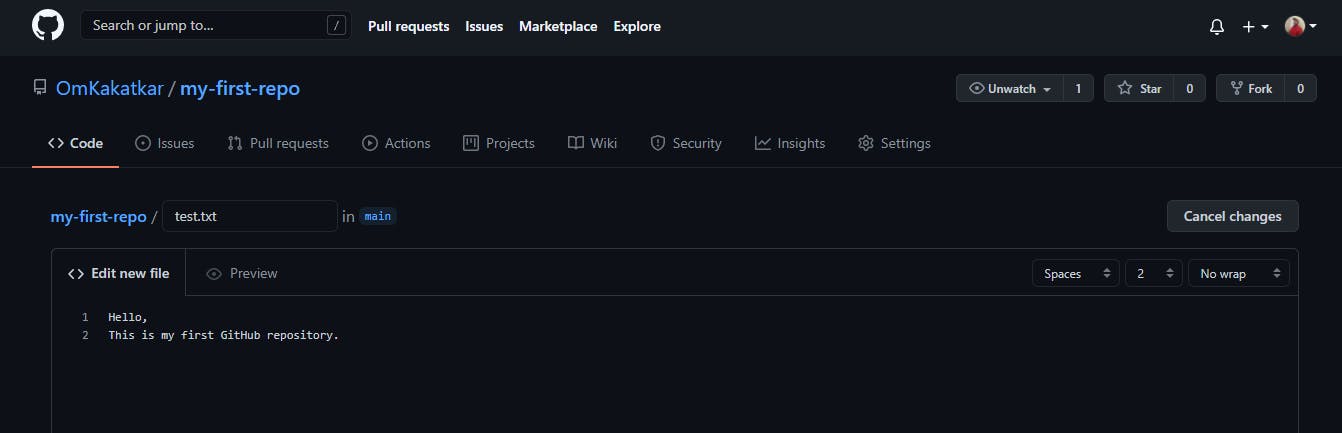
Now, you need to commit your file.
What is a commit?
By using commit we are telling GitHub to create a snapshot of all the changes we have made to our repository. In this case we are creating a new file. A commit always needs a commit message along with an optional description. If you do not specify any commit message, GitHub will use a default message. It is advisable to use a descriptive commit message whenever possible.
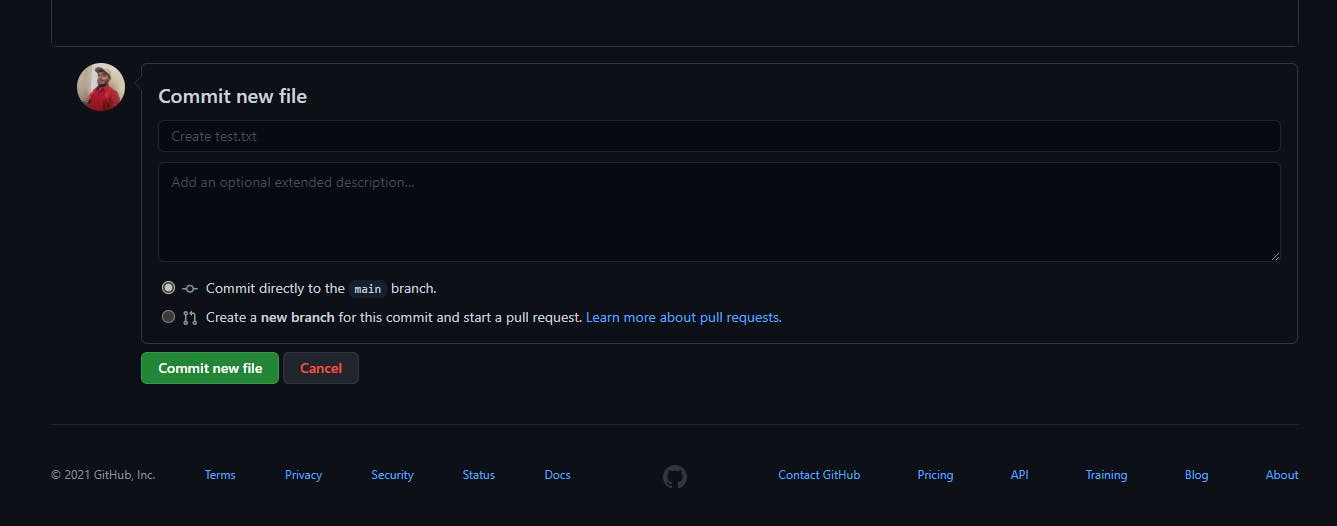
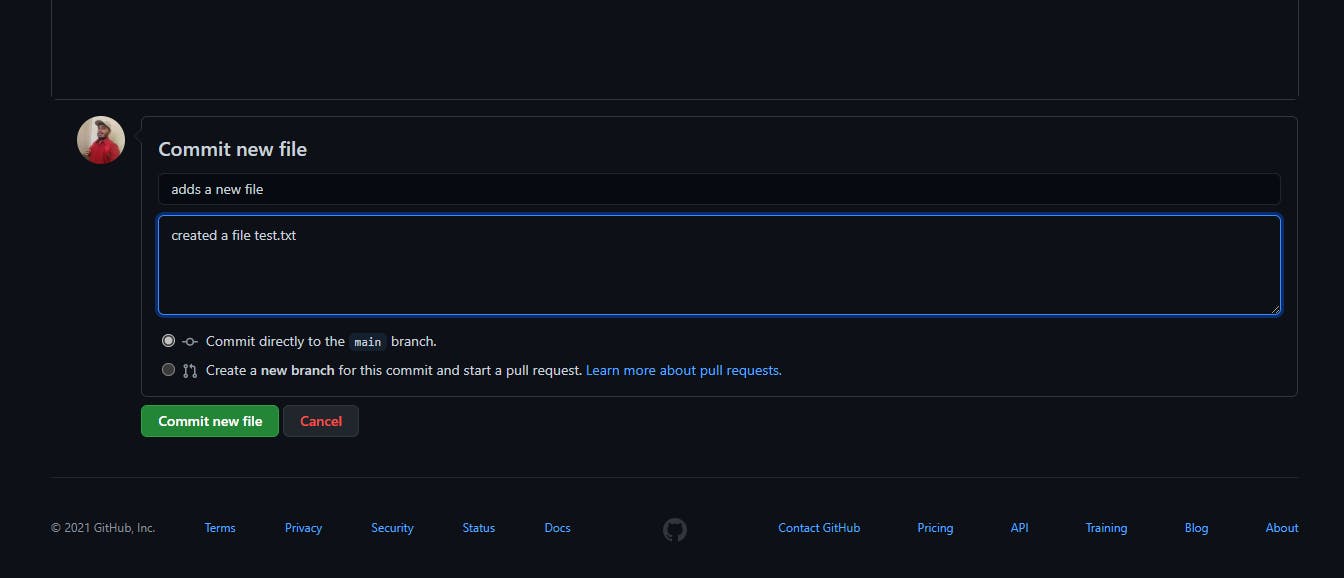
Once you add a commit message, click on "Commit new file".
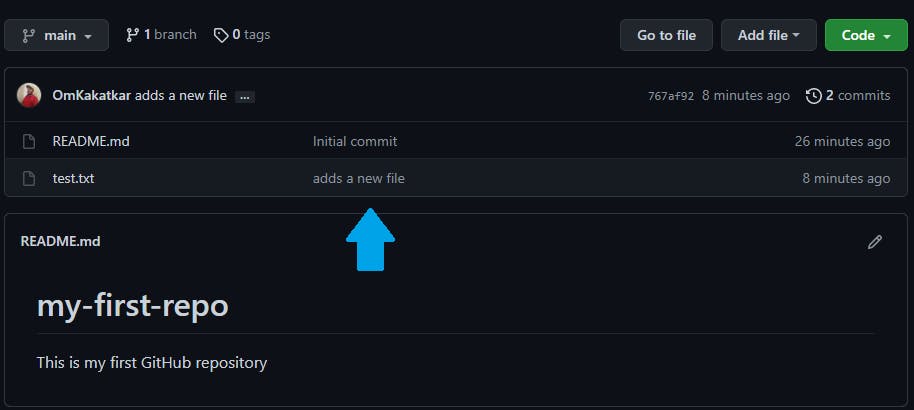
We have successfully added a file to our GitHub repository.

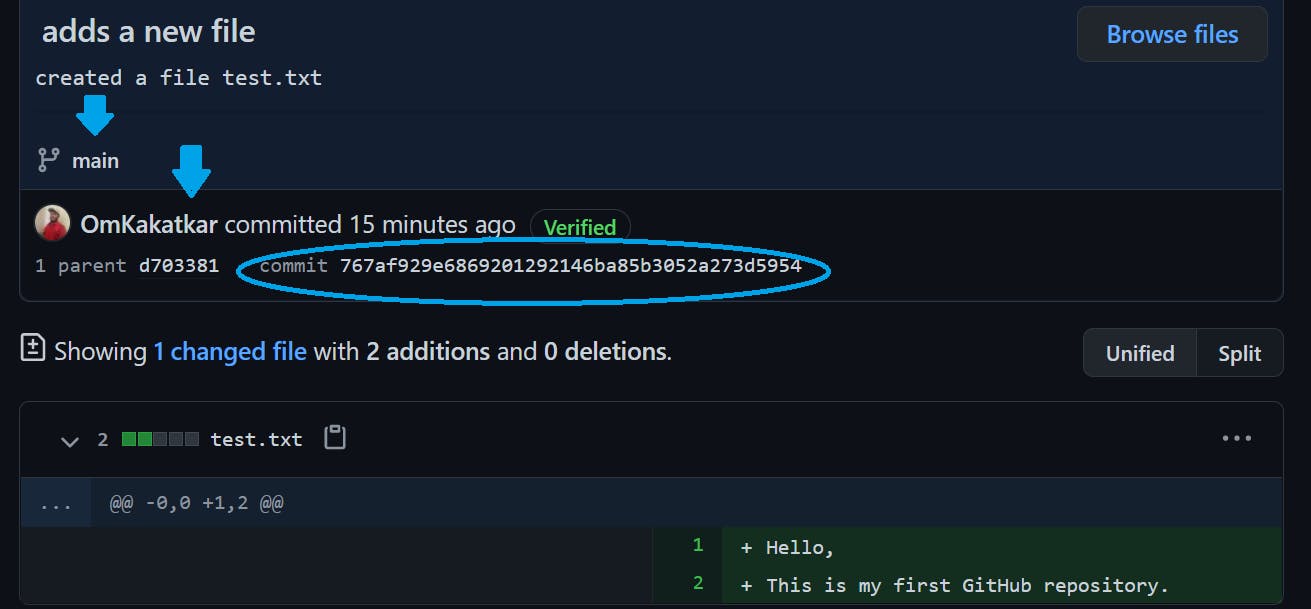
4. Exploring the commit
If we click on the commit message, we can explore the changes that were made in that commit.
Every commit is associated with a unique commit id. It also contains information about what files were affected. In which branch the commit was made. Who made this commit. And the actual changes that were made as well.
Lastly let us look at all the commits that were made to this repository till now. To see that, go to the main page of your repository and click on the commits. Right now we have made 2 commits to our repository so it should display 2 commits on the link.
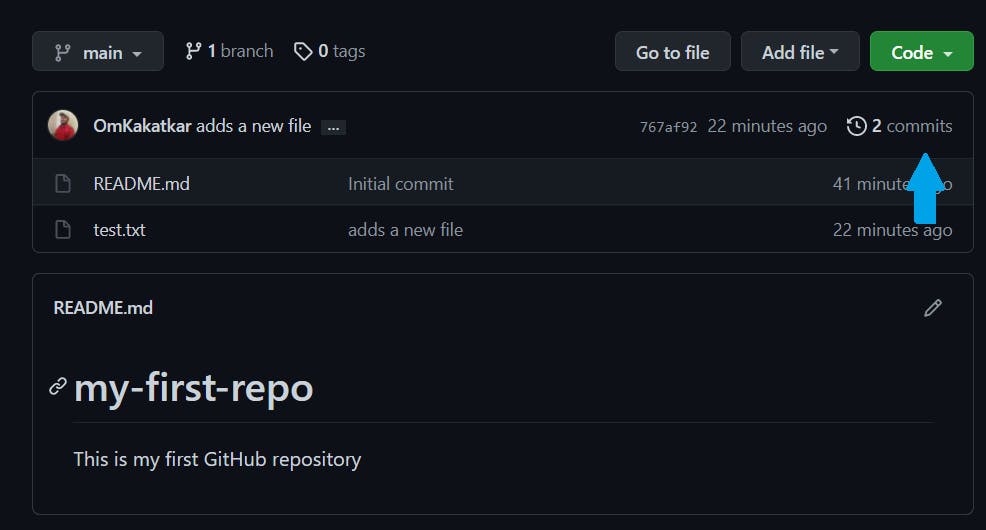
You can click on any of these commits to explore them as we discussed earlier.

Afterword

That was a lot of information to take in. You did well. Now you can create as many repositories you want and add all the code and other files you want to track on GitHub. As an exercise, you can try uploading a file from your local machine. I know you can do it with the knowledge you acquired today. In the next post we would explore hosting a website on Netlify.